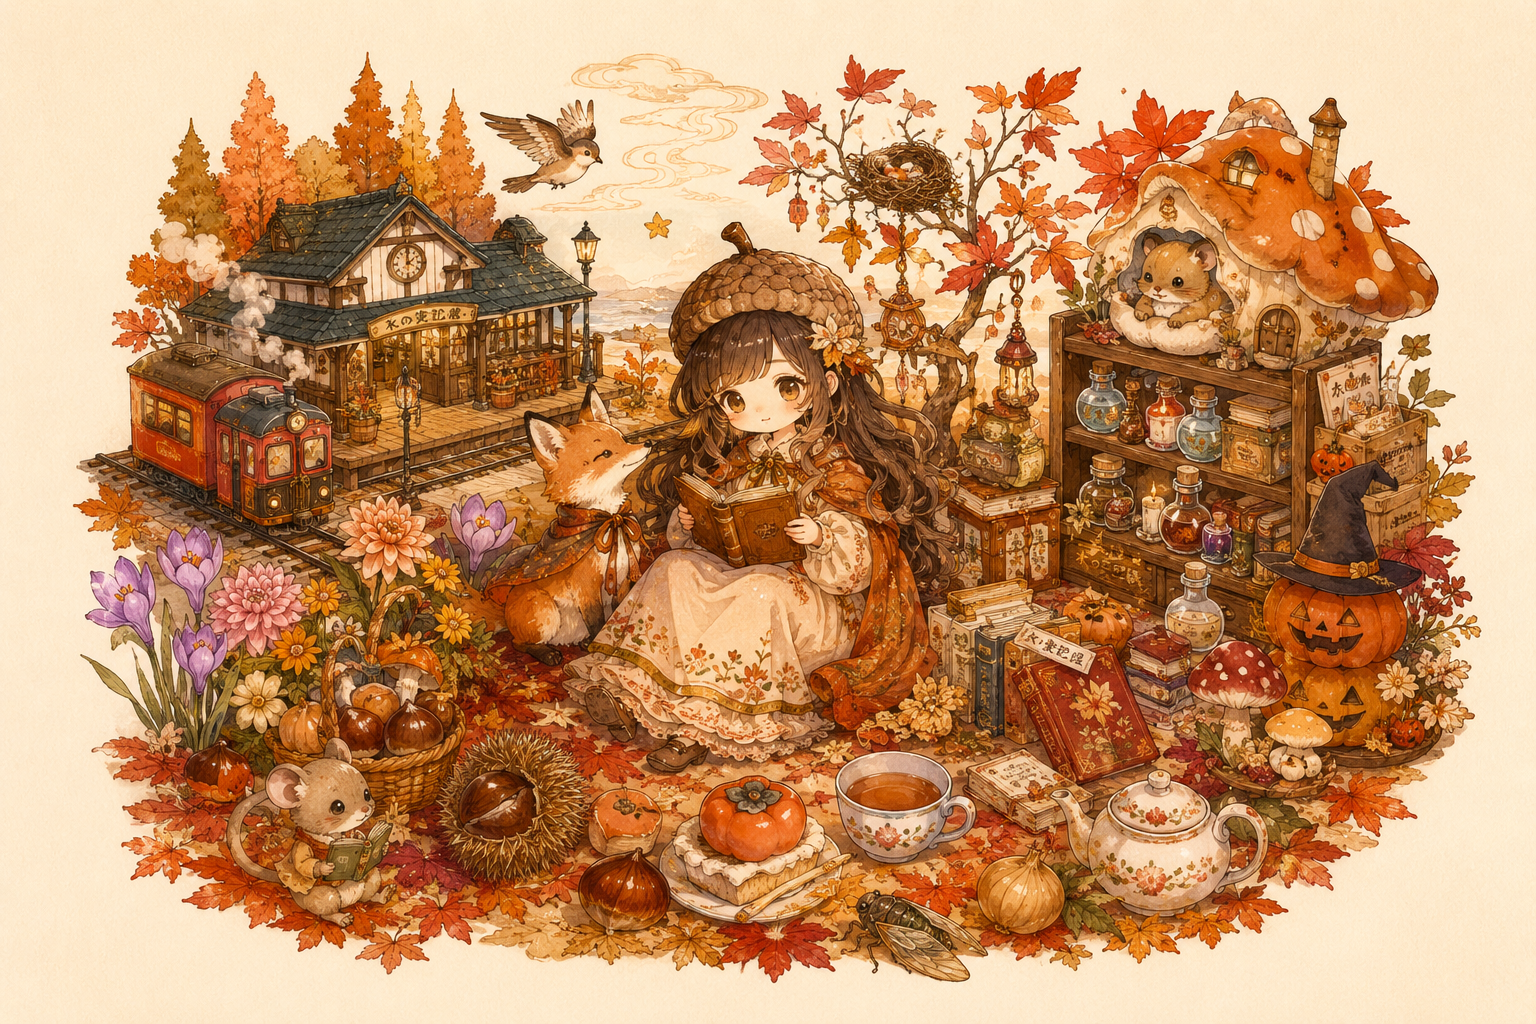
①元の画像をCanva AIに編集してもらう/Have Canva AI edit the original image.
まず、Canva AIに元の画像を読み込ませます。
次に、Canva AIへ以下のように指示します。
**「この画像と背景の色をそろえてください」**
すると、画像の色味に合わせて背景を調整してくれます。
背景と画像の色をそろえることで、画像と背景の境目が自然になり、全体に統一感が生まれます。
---
## ② テキストを入れる場所を確保する
次に、メッセージや文字を入れるためのスペースを作ります。
今回は、画像の**上部**にテキストを入れることにしました。
Canva AIに次のように指示します。
**「テキストスペースを上に作って」**
このように、最初に背景の色を画像に合わせてからテキストスペースを作ることで、画像の雰囲気を崩さず、文字を入れやすいデザインにできます。
First, upload the original image to Canva AI.
Next, give Canva AI the following instruction:
**"Match the background color to this image."**
It will then adjust the background to match the image's color tones.
Matching the background color to the image creates a natural transition between the two and gives the overall design a sense of unity.
---
## ② Create space for text
Next, create space to insert your message or text.
In this example, I decided to place the text at the **top** of the image.
Give Canva AI the following instruction:
**"Create a space for text at the top."**
By matching the background color to the image first and then creating the text space, you can design a layout that is easy to add text to without disrupting the image's atmosphere.
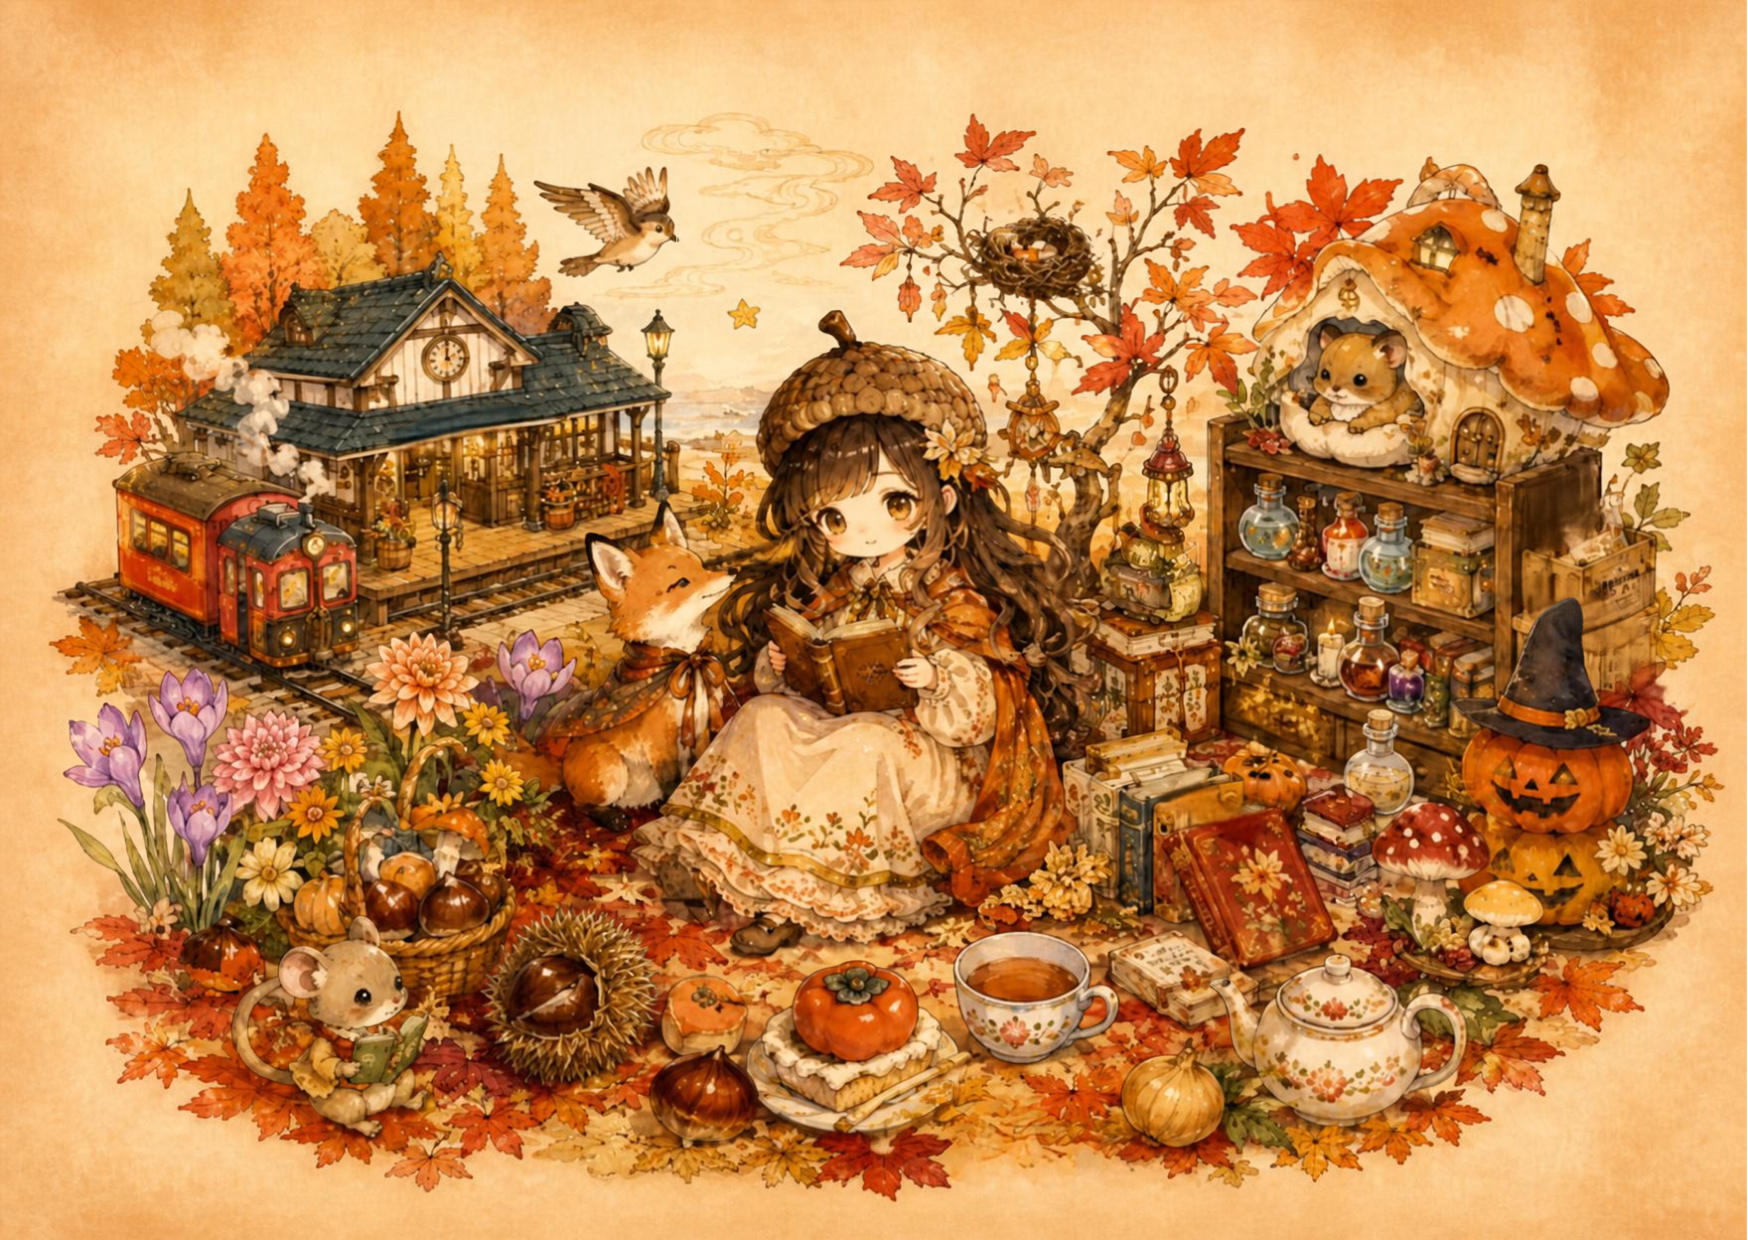
②加工された画像でテキストを入れるスペースを確保する/Secure space for text in the processed image.
## テキストを入れるスペースを確保する
画像にメッセージを入れたい場合は、まず**文字を入れるスペースをどこに作るか**考えます。
今回は、画像の雰囲気に合わせて、まずCanva AIに背景を調整してもらいました。
① 背景の色を調整する
Canva AIから次のような編集が提案されました。
「画像の色味に合わせて、背景を淡い秋色に調整しました。画像と背景の境目も自然になっています。」
背景を画像の雰囲気に合わせることで、その後に追加するテキストスペースも自然になじみやすくなります。
② テキストスペースを作る場所を決める
次に、メッセージを入れるためのスペースを確保します。
今回は、画像の上部にテキストを入れることにしました。
③ Canva AIに指示する
Canva AIに次のように入力します。
**「テキストスペースを上に作って」**
すると、画像の上部に文字やメッセージを入れるためのスペースを作ることができます。
このように、まず背景を調整してからテキストスペースを追加すると、画像全体の雰囲気を崩さずに、文字を入れやすいデザインにできます。
## Creating Space for Text
If you want to add a message to an image, the first step is to consider **where to create space for the text**.
In this instance, I had Canva AI adjust the background to match the image's atmosphere.
① Adjusting the background color
Canva AI suggested the following edit:
"I adjusted the background to soft autumn tones to match the image's color palette, creating a natural blend between the image and the background."
By harmonizing the background with the image's mood, the text space you add later will blend in more naturally.
② Decide where to create the text space
Next, designate a space for your message.
For this example, I decided to place the text at the top of the image.
③ Give instructions to Canva AI
Enter the following prompt into Canva AI:
**"Create a text space at the top"**
This generates space at the top of the image where you can insert text or a message.
Adjusting the background first and then adding the text space allows you to create a design that is easy to add text to, without disrupting the overall atmosphere of the image.
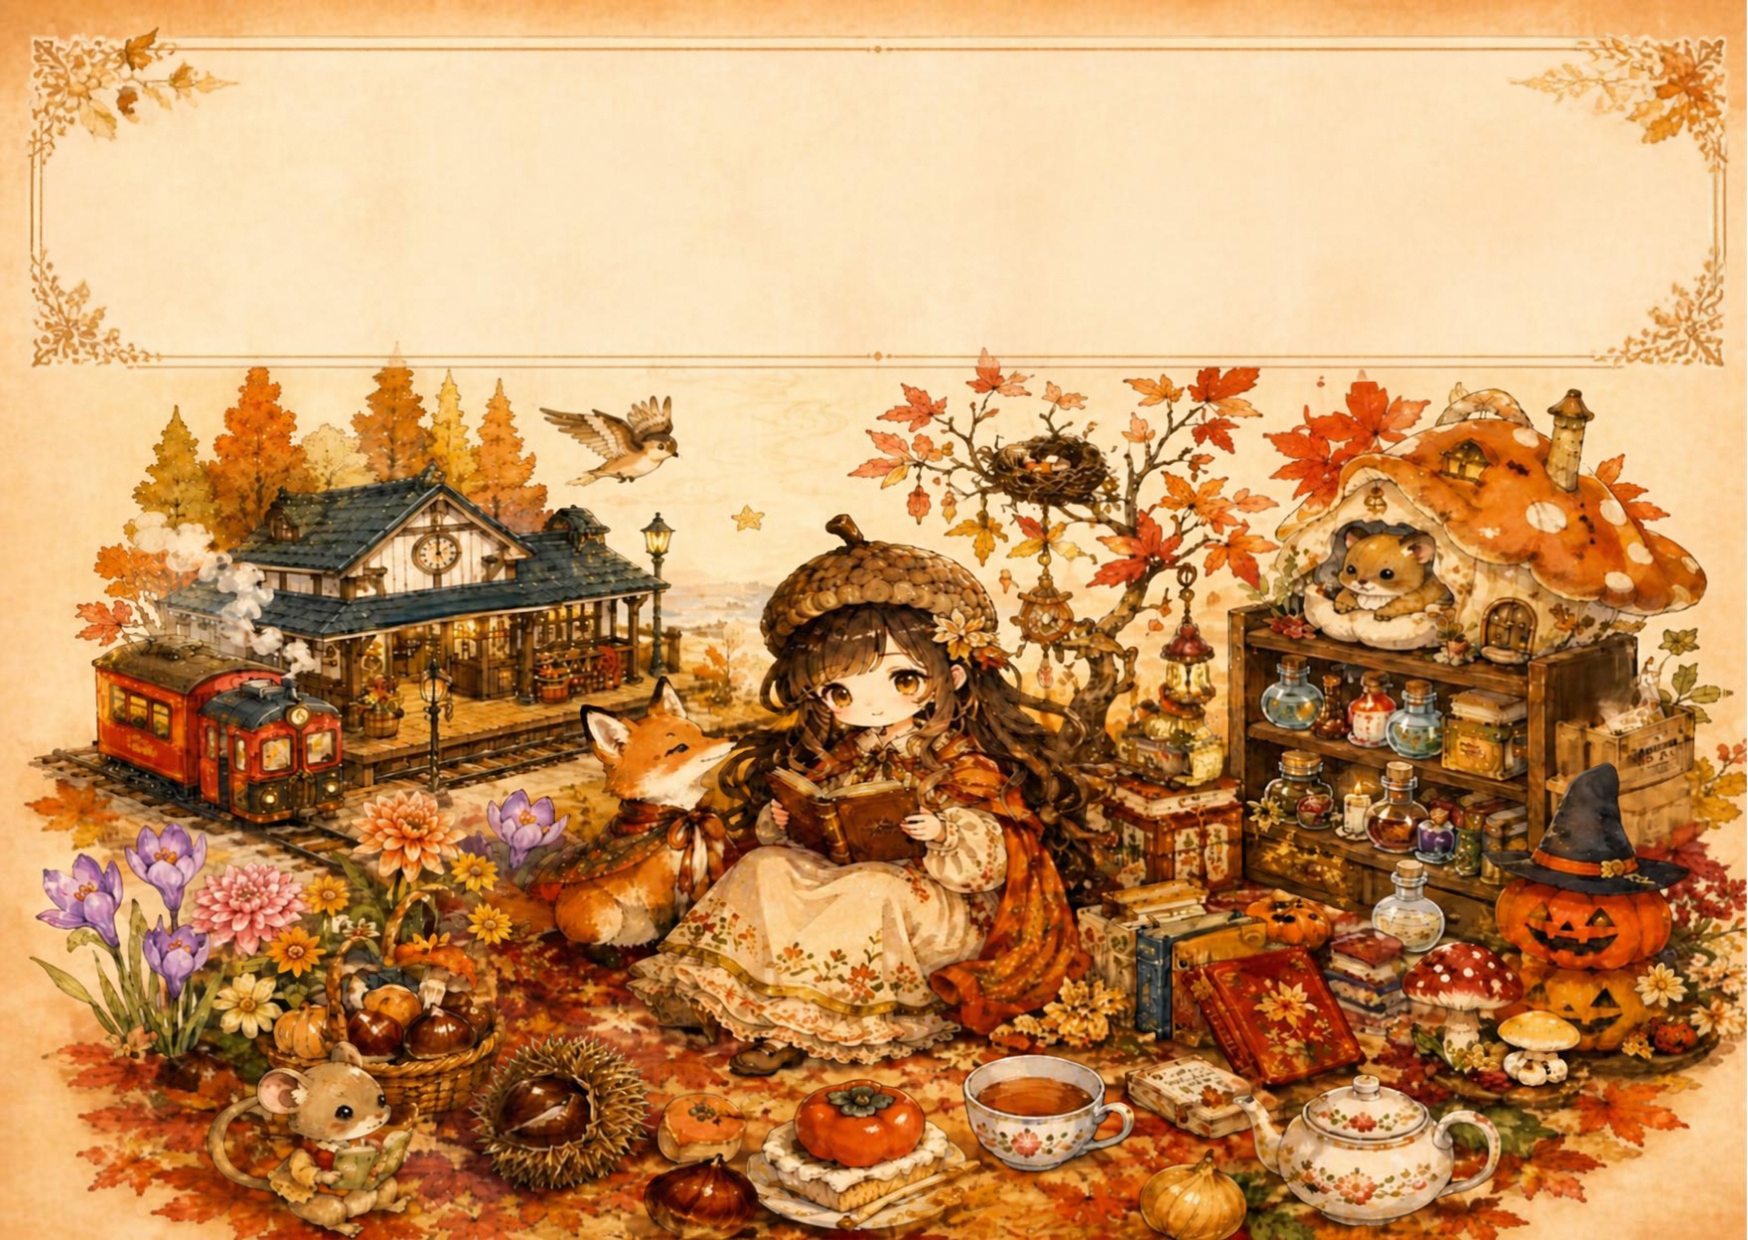
③加工された画像でCanva AIでテキストスペースを作ってみました/I tried creating a text space using Canva AI on a processed image.
まず、Canva AIに次のように指示しました。
① 最初の指示
「ページ上部に、メッセージを入れやすい淡いクリーム色のテキストスペースを作りました。人物や秋の飾りは隠していません。」
次に、ほかのデザイン案があるかCanva AIに聞いてみました。
### ② Canva AIに質問
「テキストスペースのほかの案はない?」
すると、Canva AIから次のような提案がありました。
* 下部に横長の帯
* 左右どちらかに縦長の余白
* 中央上に小さな和紙風ラベル
* 画像の周囲に余白を作る額縁風
その中でも、このデザインには**「下部に横長の帯」または「中央上の和紙風ラベル」がおすすめ**とのことでした。
③ 今回選んだデザイン
今回は、**「下部に横長の帯」**を選びました。
画像を主役にしながら、下部にメッセージを入れるスペースを作ることができるため、文字を入れやすく、全体のデザインもすっきりとまとまります。
**AIに一度デザインを提案してもらい、その後で「ほかの案はある?」と質問することで、複数のデザインから自分に合ったものを選ぶことができます。**
First, I gave the following instruction to Canva AI:
① Initial instruction
"I created a pale cream-colored text space at the top of the page where it’s easy to add a message. I made sure not to obscure the figures or the autumn decorations."
Next, I asked Canva AI if there were any other design options.
### ② Question for Canva AI
"Do you have any other ideas for the text space?"
Canva AI offered the following suggestions:
* A horizontal band at the bottom
* A vertical margin on either the left or right side
* A small *washi* (Japanese paper)-style label at the top center
* A frame-like layout with a margin around the image
Among these, it recommended either the **"horizontal band at the bottom"** or the **"*washi*-style label at the top center"** for this design.
③ The design chosen this time
For this instance, I selected a **"horizontal band at the bottom"** design.
This layout allows the image to take center stage while creating space for a message at the bottom; it makes adding text easy and results in a clean, cohesive overall design.
**You can have the AI propose a design first, then ask, "Do you have any other ideas?" to compare multiple options and choose the one that best suits your needs.**
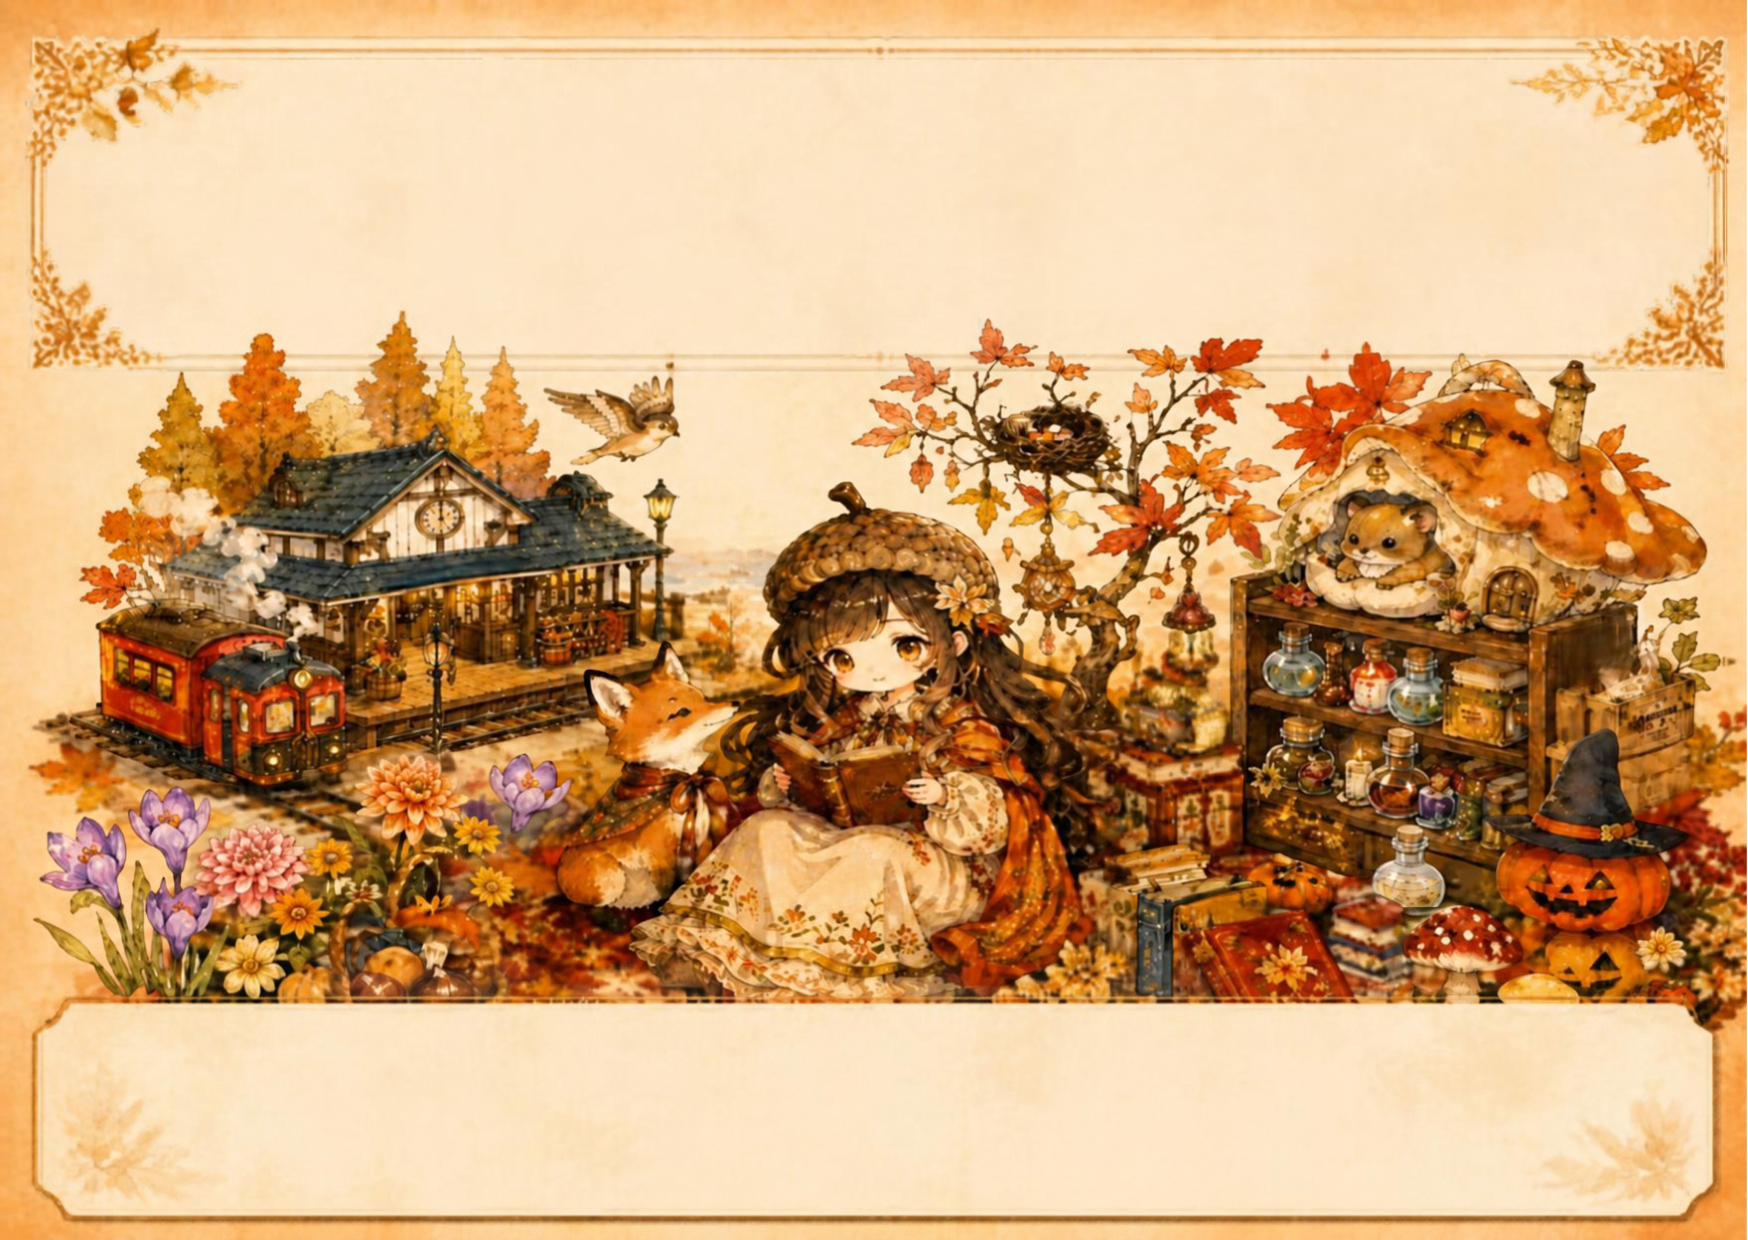
④加工された画像/Processed image
ただ無理やり下に下部に横長の帯をつけられただけなので却下にした。
I rejected it because they had simply forced a horizontal band onto the bottom section.
実際にテキストを入れてみましょう。
Let's actually enter some text.
ここをクリック click here